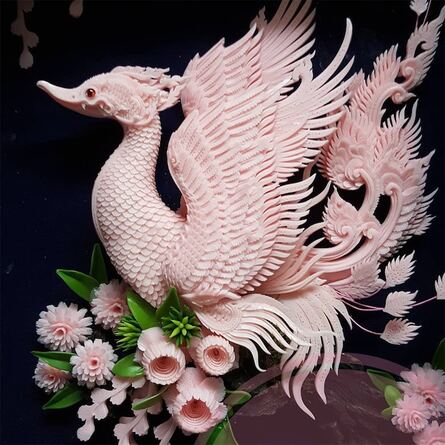
Soap Carving
When Marshall Fredericks was a small boy his mother gave him a bar of soap and told him to go sit on the porch and carve it. His first sculpture was a little pig. Since soap was the first medium Marshall Fredericks used we like to keep that spirit alive by offering soap carving as an art activity to schools and groups that tour the museum, but you can do this at home. Ready to get started?
Grade level: 4th to 12th grade and adult
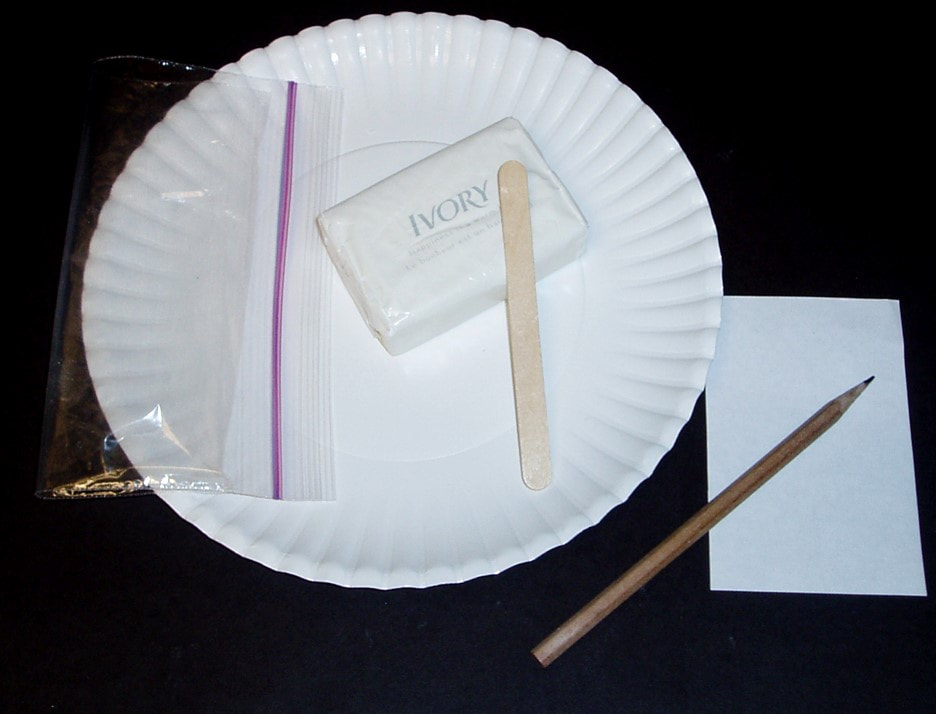
What you’ll need:
Grade level: 4th to 12th grade and adult
What you’ll need:
- Bar of Soap
- Wood craft stick or spoon
- Pencil
- Piece of paper
- Paper plate
- Plastic bag to store your soap in
Safety tips: Do not eat the soap. Do not rub eyes when using soap, it burns. Carve soap in a well-ventilated area.
Instructions
Think of a simple design to begin your first soap carving. The simpler the better for your first try. As you get a feel for how the soap carves you may want to try more challenging designs later and use other tools to carve with.
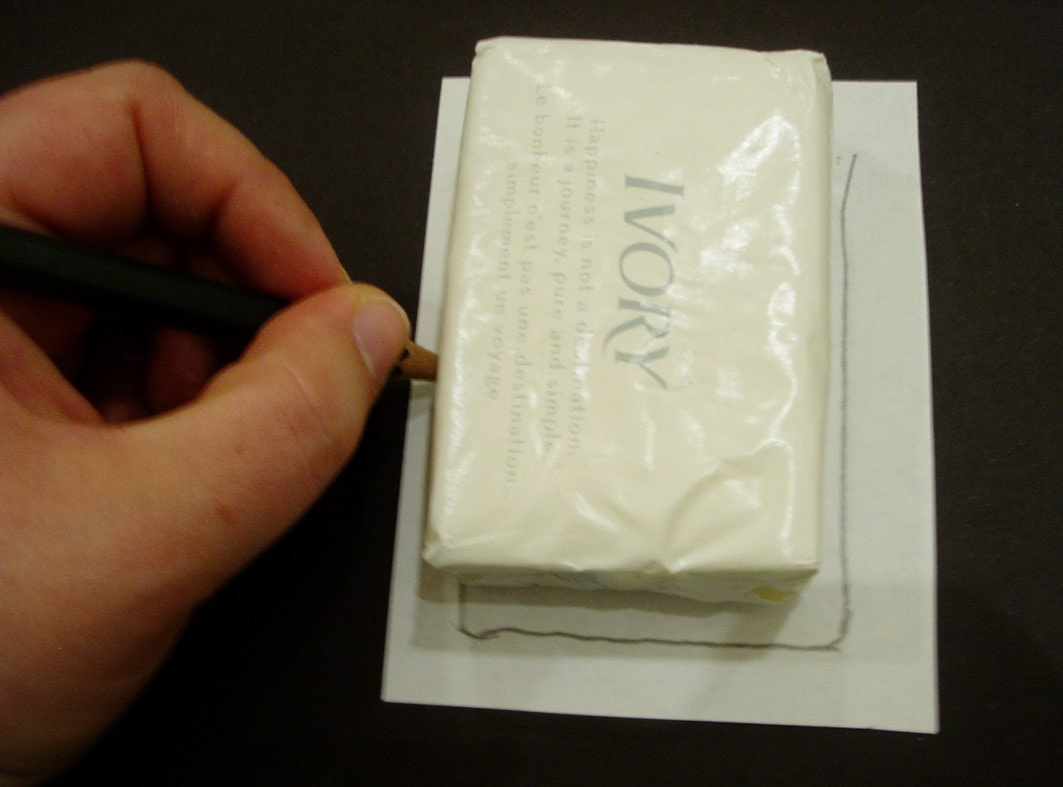
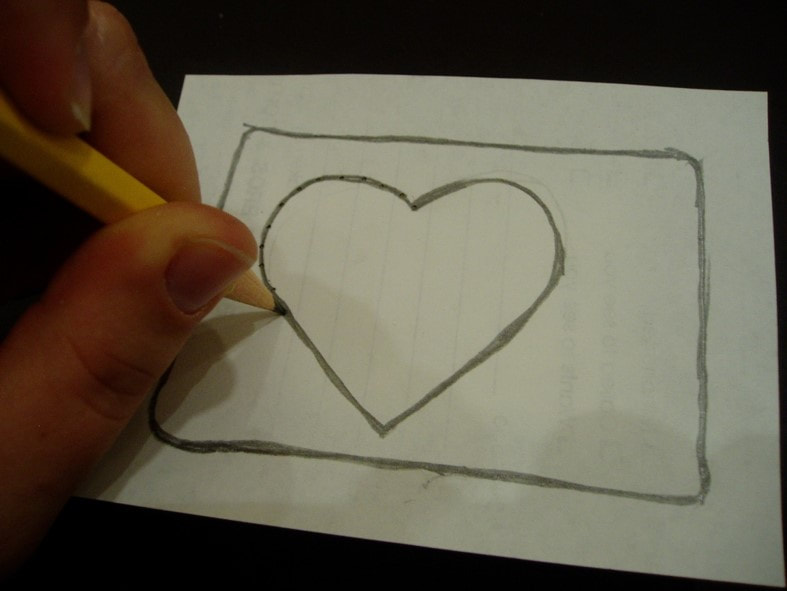
1. With the soap still in the wrapper trace the rectangular outline of the bar of soap onto your paper. This will give you the size of the area in which to design your sculpture.
2. Make a simple drawing within the rectangular area of the soap outline you just made in step 1.
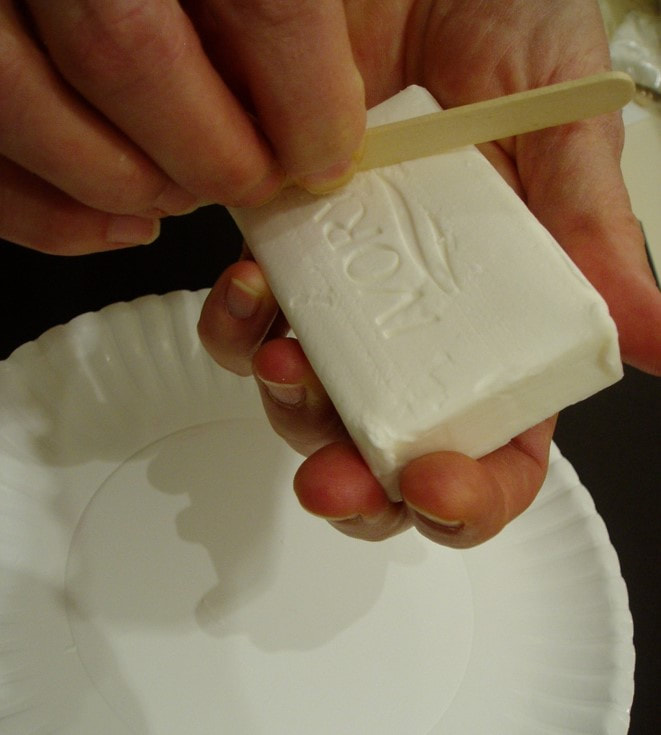
3. When you are done with your drawing, unwrap your bar of soap. Holding the soap in one hand above the paper plate, scrape away any lettering on the soap by using the edge of the craft stick on the long side, flush to the surface of the soap. This will make it easier to transfer your drawing to the surface of the soap.
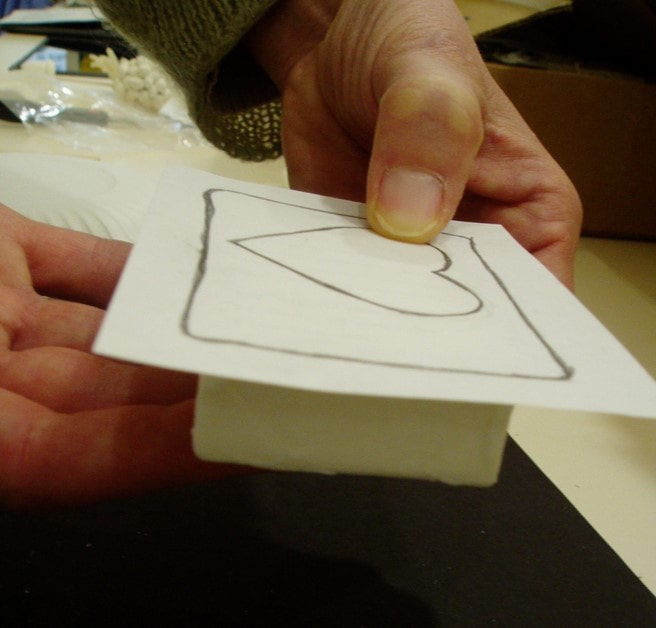
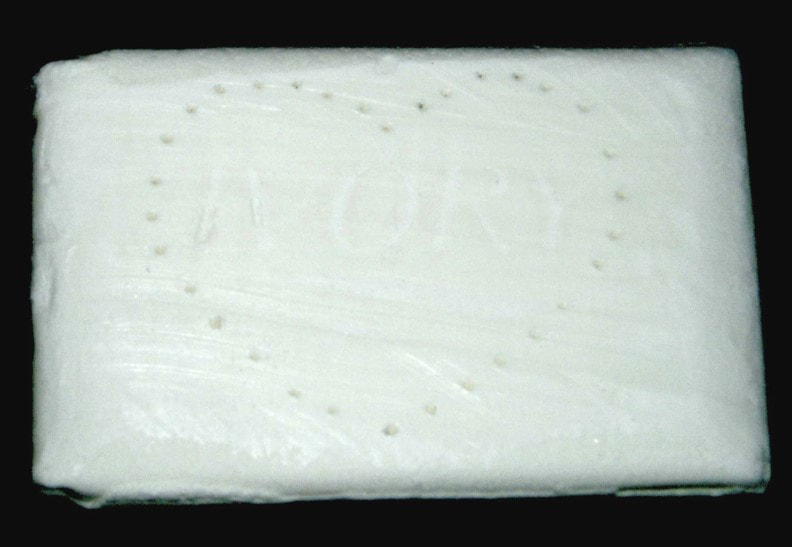
4. With the name of the soap removed place your paper drawing on top of the soap - make sure it's centered. Make a series of small holes with the pencil along your drawing lines. Space the holes about ¼ inch apart. The holes should not go very deep into the soap.
5. When you finish remove the paper to reveal the small holes in the soap. These will be your guide marks for your carving.
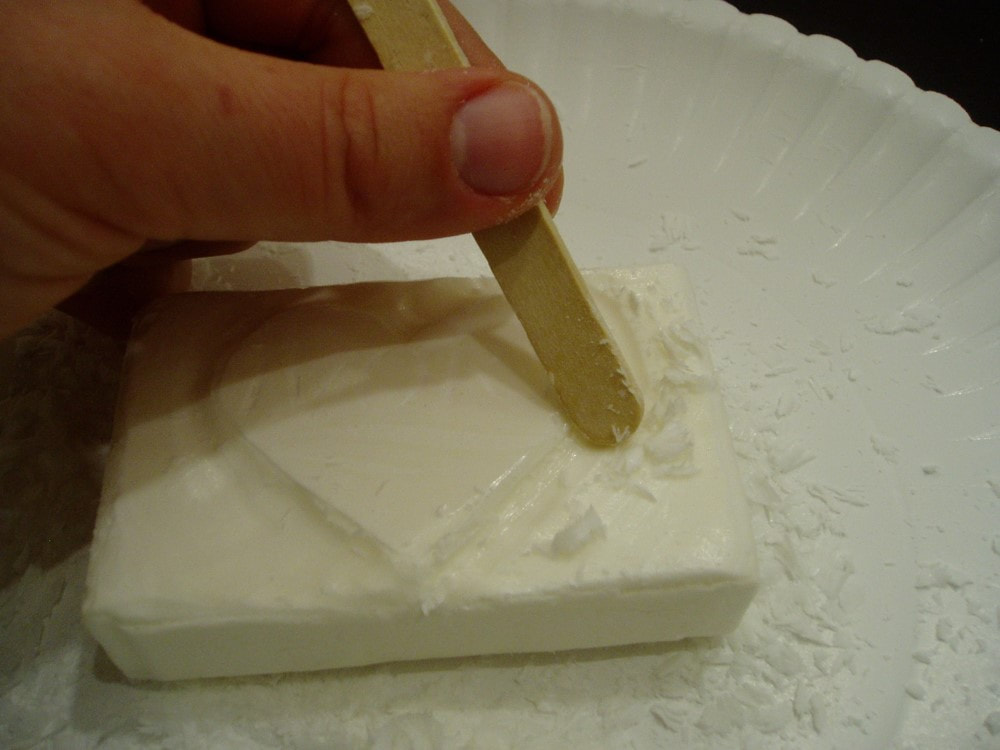
6. Begin carving your soap. Slowly scrape away the soap with your craft stick using the holes from your drawing as a guide.
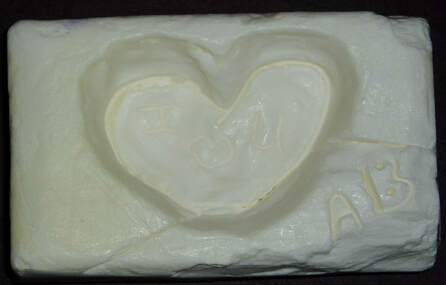
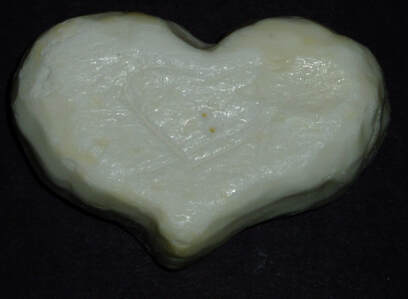
7. Now you have to make a decision. Do you make a relief sculpture (below left) or an in-the-round sculpture (below right)? See the difference? A relief sculpture projects from the surface. An in-the-round sculpture is a sculpture that is carved on all sides, and front and back.
8. When you finish please share your creations on Facebook and Instagram hashtag #marshallfredericksmuseum.
Did you know that the United States used to have annual soap carving competitions. These took place mainly from the 1940s - 1960s and Marshall Fredericks was a soap carving judge on several occasions.
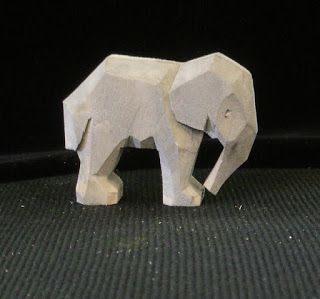
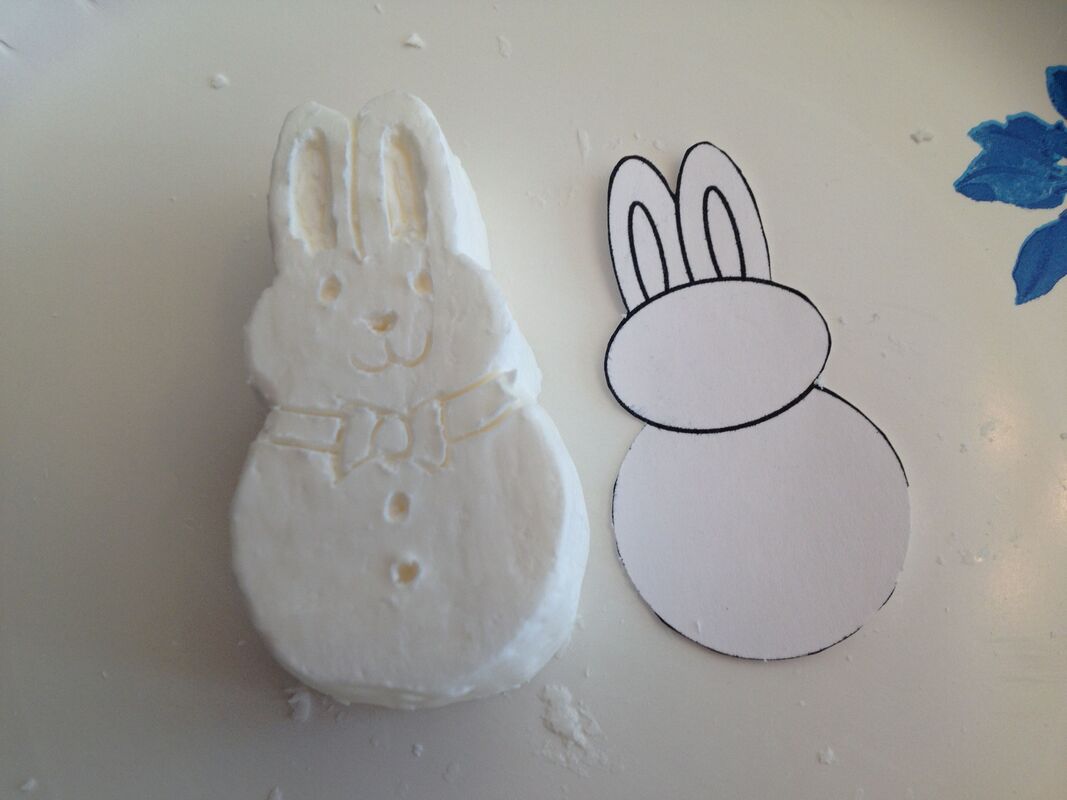
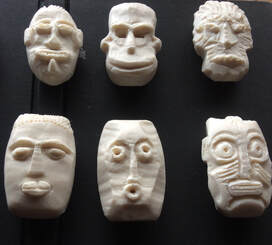
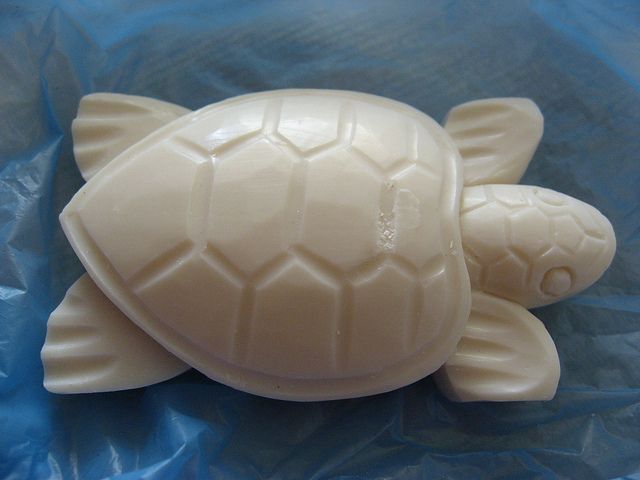
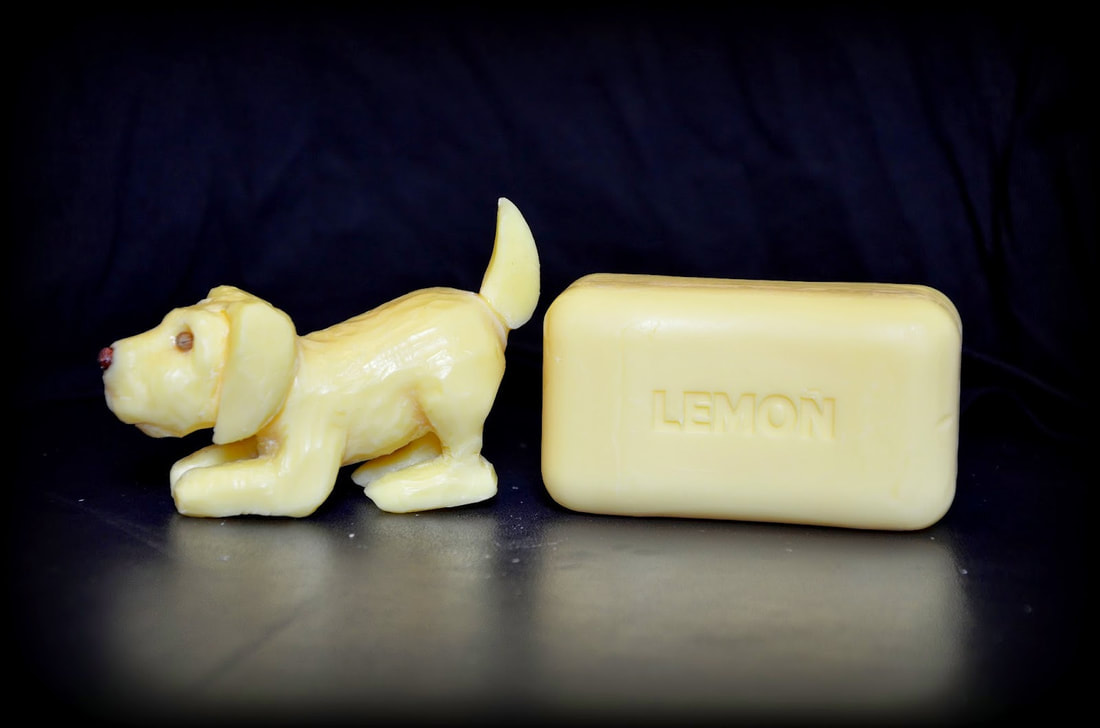
Need some ideas? Below are some soap carvings found around the internet.
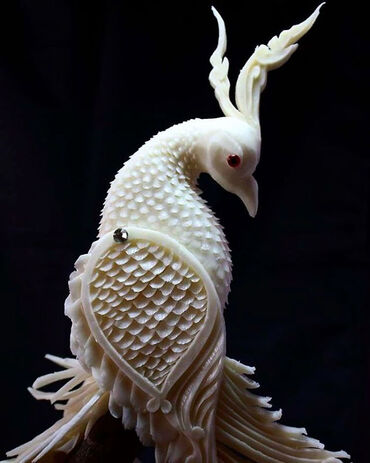
Feel like a challenge? Look at these beautiful soap carvings from soap artists.

