Sculpt And Share
Sculpting with Clay
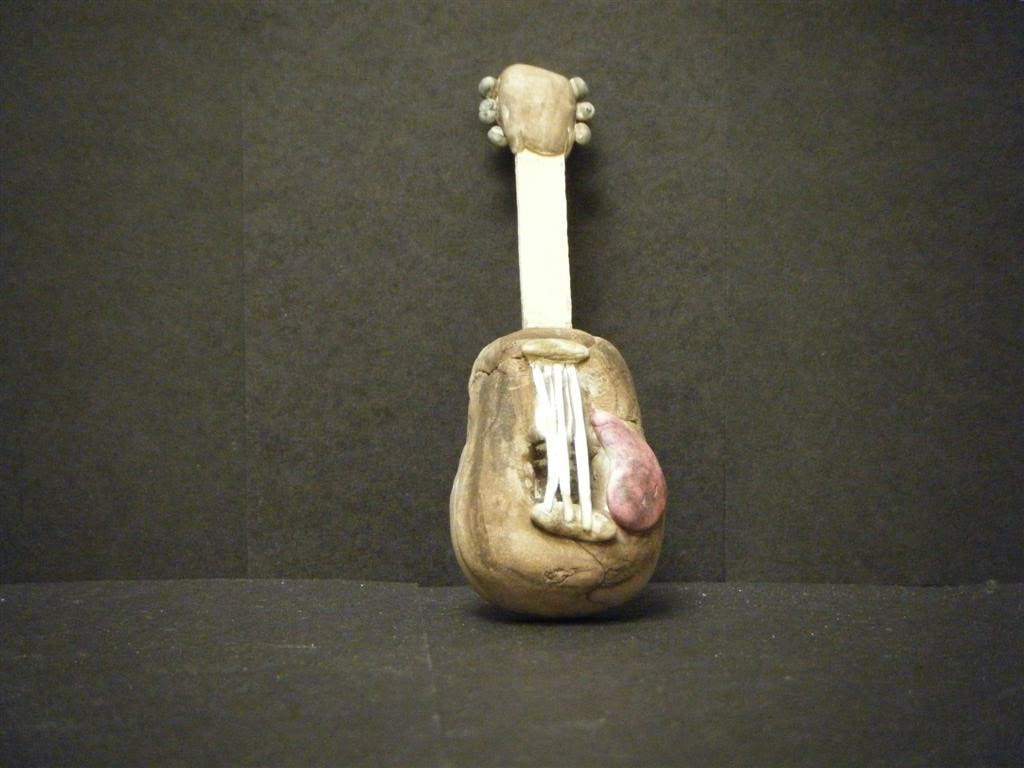
Have you ever made a sculpture? In this activity you’ll make 3-Dimensional shapes and then join them together to make a sculpture of an animal, human, ornament, cars, boats, or anything you want. You could even make your own monster creation!
Participants explore the method of adding and joining clay pieces together to make a sculpture and then add texture and designs. This art activity creates new brain connections and calms you all at the same time. Parents are encouraged to make sculptures alongside their children.
Age Level: All ages
What you’ll need:
Instructions
Think of some of the most common shapes that you know, like circles/spheres, triangles/pyramids, rectangles, squares/cubes, and ovals. These are a few of many different shapes!
1. Start by thinking about what animal or form you want to create. Think about what shapes may be used to make up the different parts of your creation.
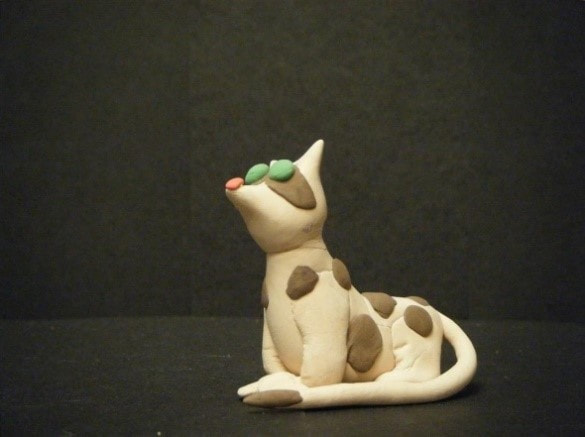
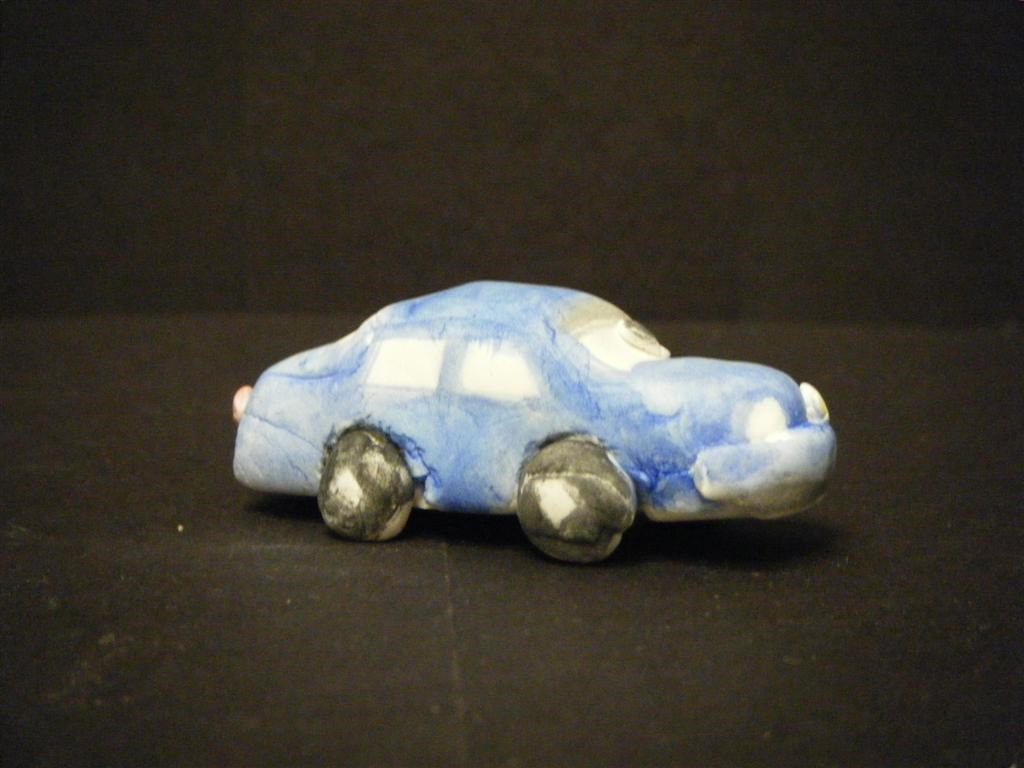
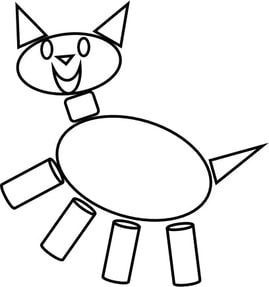
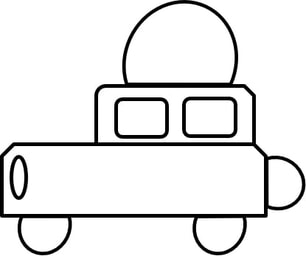
2. If you want, you can sketch the shapes on paper as a guide before you begin. See the shapes that make up the animal and car below.
Participants explore the method of adding and joining clay pieces together to make a sculpture and then add texture and designs. This art activity creates new brain connections and calms you all at the same time. Parents are encouraged to make sculptures alongside their children.
Age Level: All ages
What you’ll need:
- Modeling Clay (Crayola® Model Magic®, Play-Doh®, or make your own flour-based clay by mixing 2 cups flour, 1 cup salt and 1 cup water. Although optional, you can also add food coloring for different colored clay.)
- Firm Tool to Help Form the Clay (Wood craft sticks, Popsicle sticks or spoons, plastic bottle lids, plastic cups, small rolling pin)
- Optional texture making items (for example sticks, plastic cookie cutters, spoons, etc.)
Instructions
Think of some of the most common shapes that you know, like circles/spheres, triangles/pyramids, rectangles, squares/cubes, and ovals. These are a few of many different shapes!
1. Start by thinking about what animal or form you want to create. Think about what shapes may be used to make up the different parts of your creation.
2. If you want, you can sketch the shapes on paper as a guide before you begin. See the shapes that make up the animal and car below.
3. Now you’re ready to start sculpting. Take some clay and begin making 3-dimensional shapes that will be the parts that make up your animal (or whatever creation you decide to make).
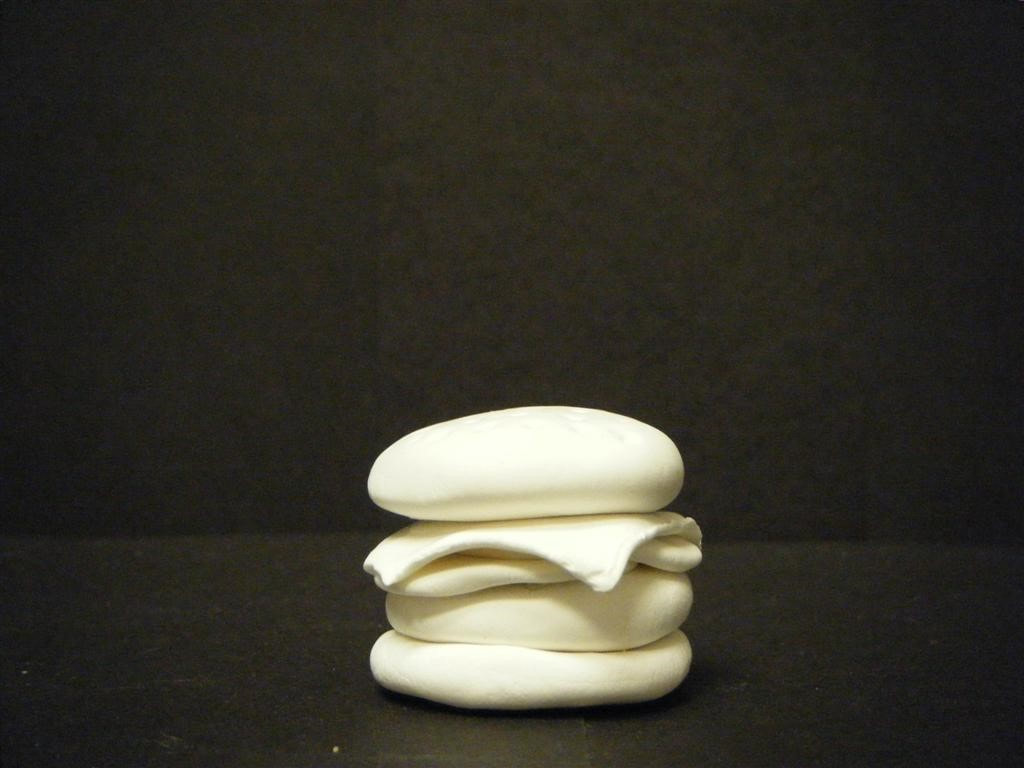
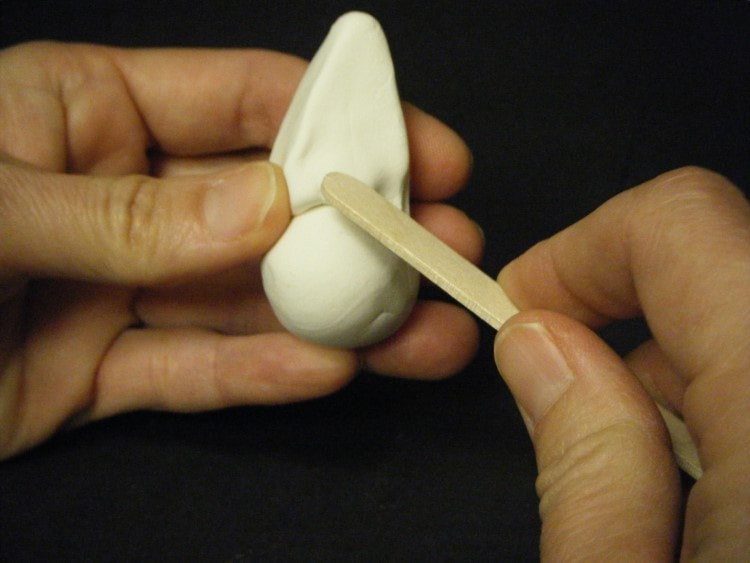
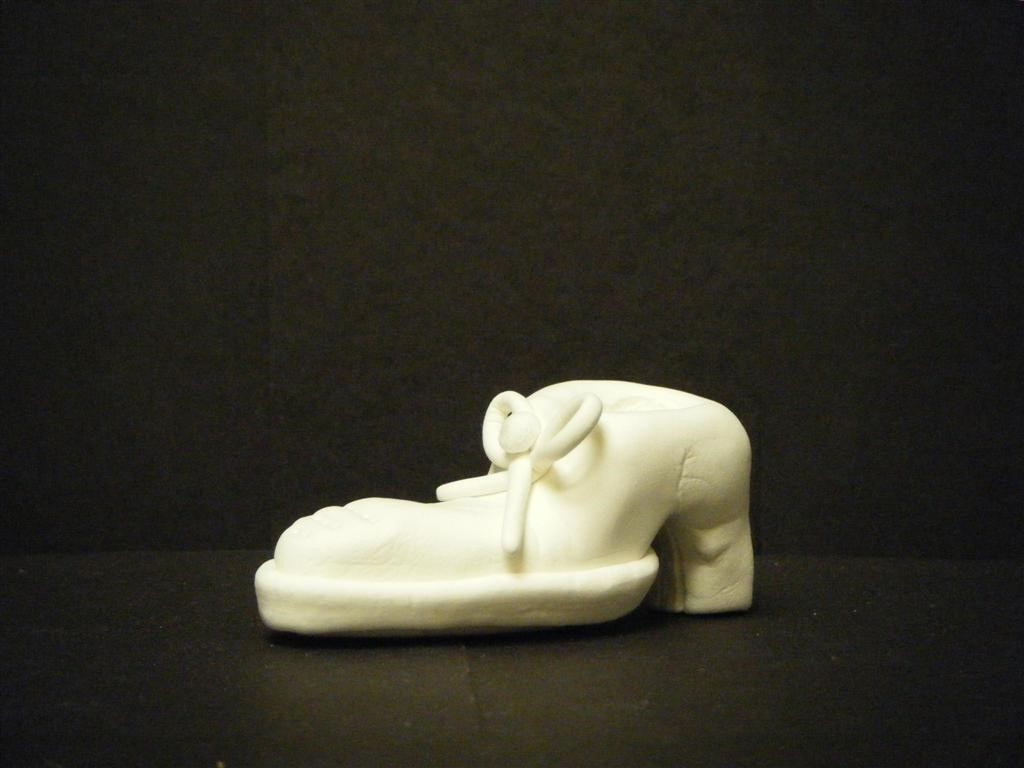
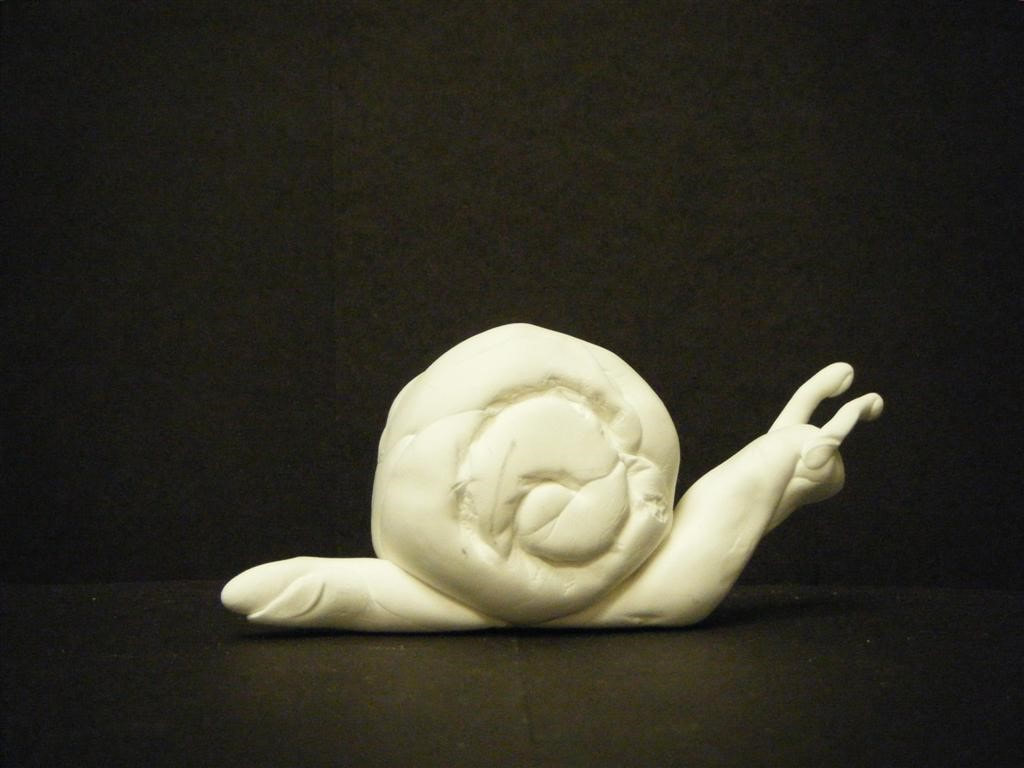
4. Next join the pieces together to make your sculpture. Use the craft stick or spoon to push/pull the clay from one part to the other so they start to join together. Then use the tool to smooth the joined area of the two pieces. See the photograph below for an example.
4. Next join the pieces together to make your sculpture. Use the craft stick or spoon to push/pull the clay from one part to the other so they start to join together. Then use the tool to smooth the joined area of the two pieces. See the photograph below for an example.
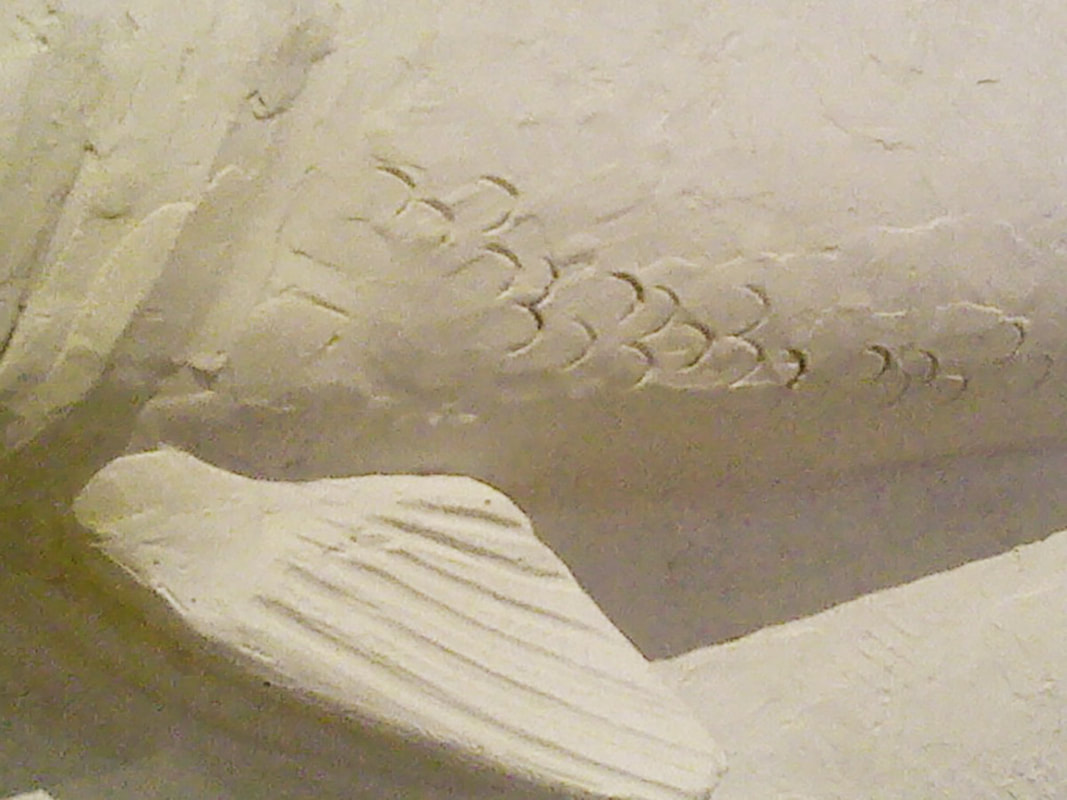
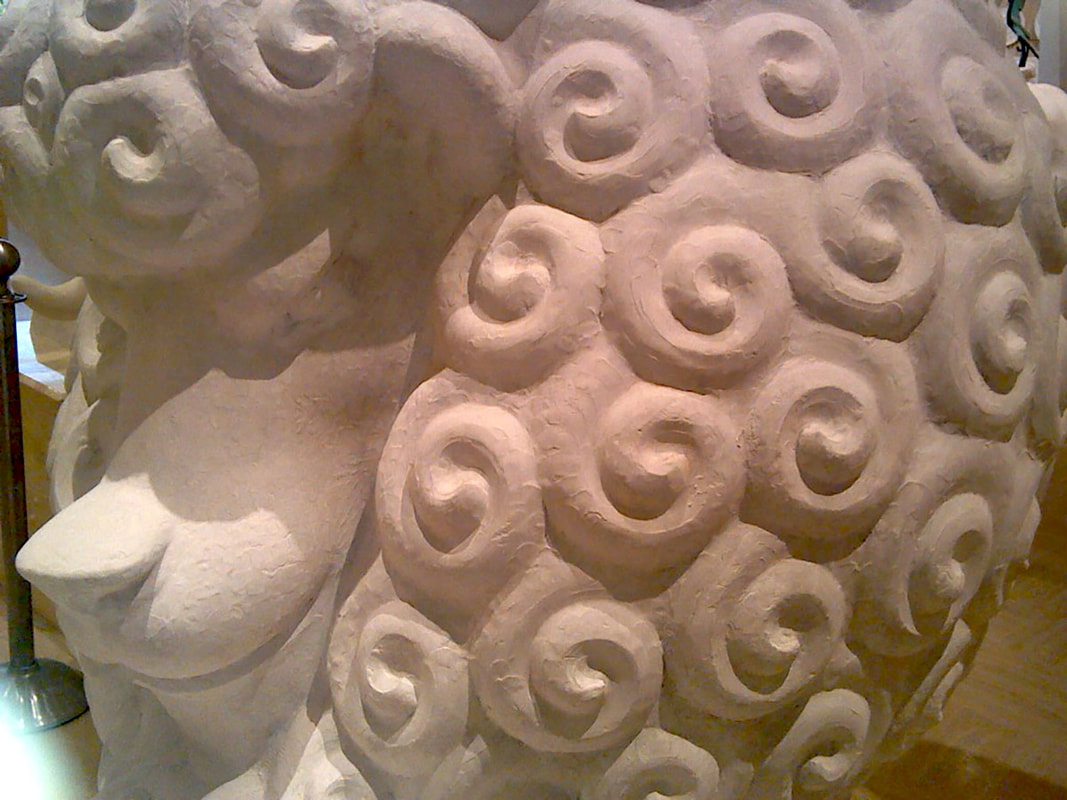
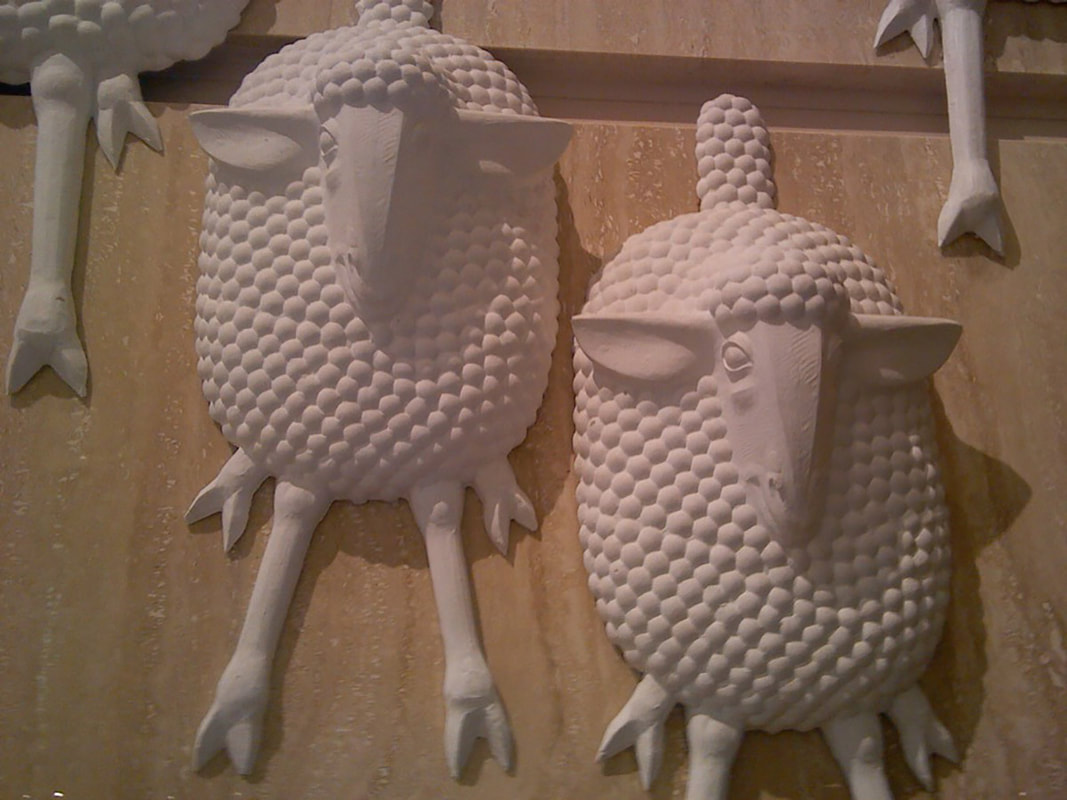
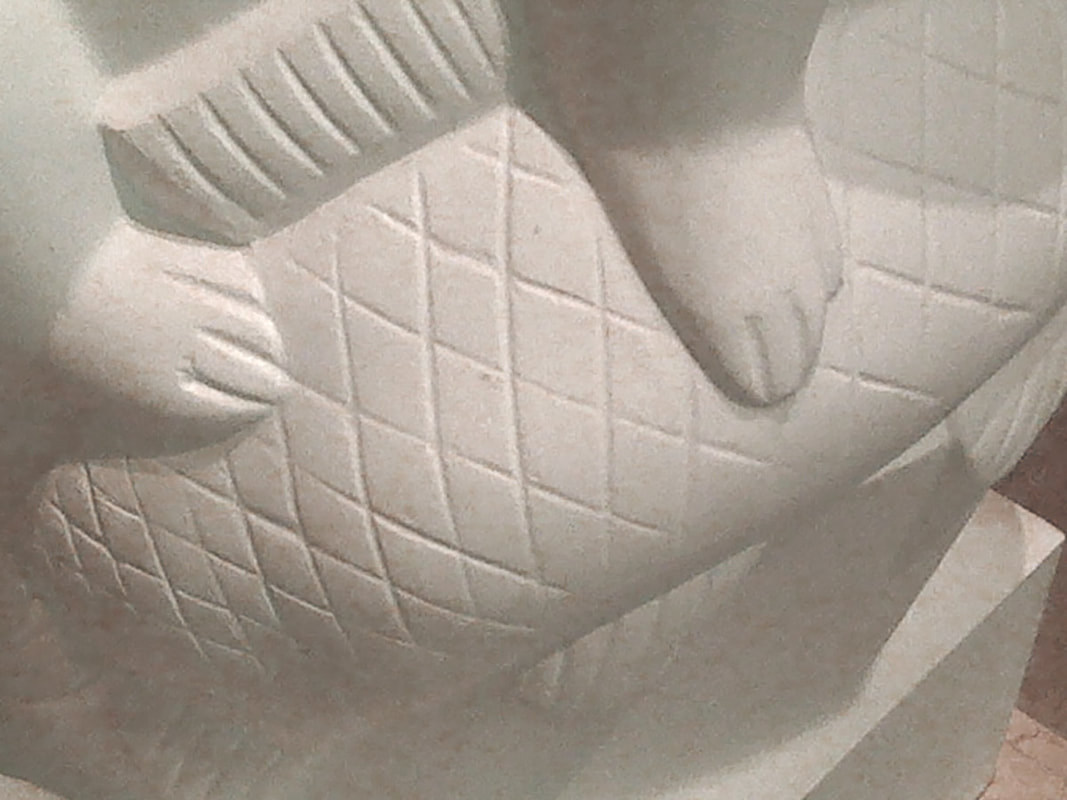
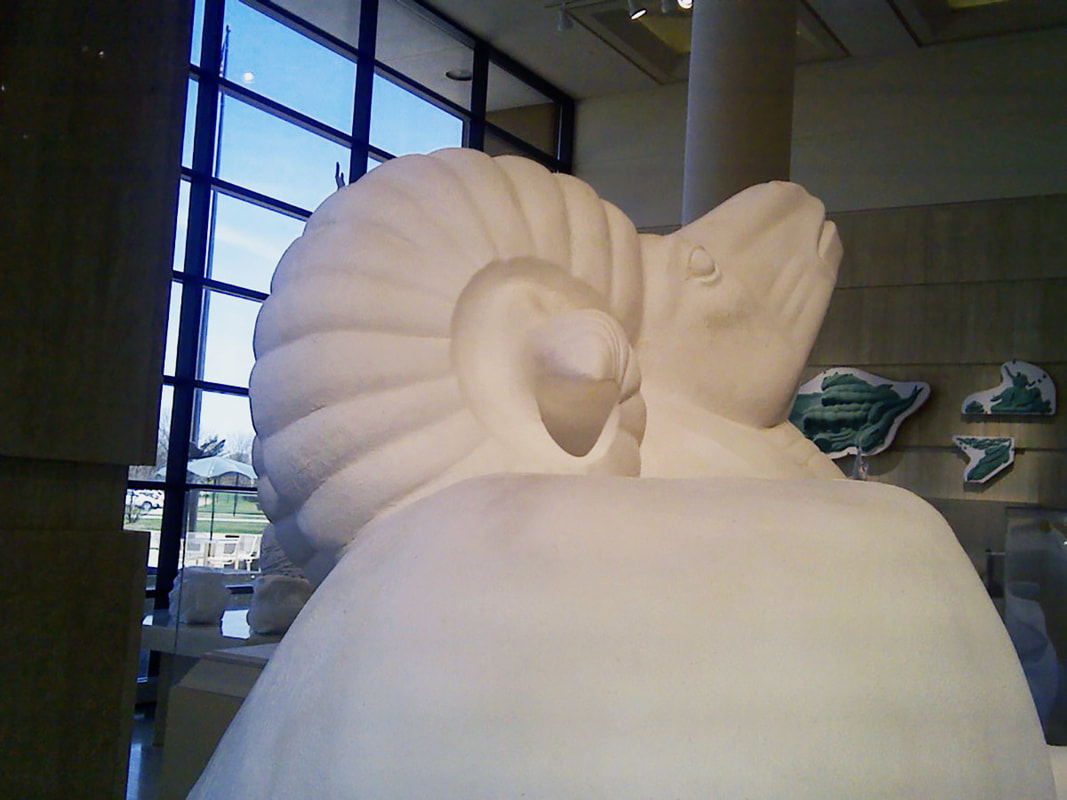
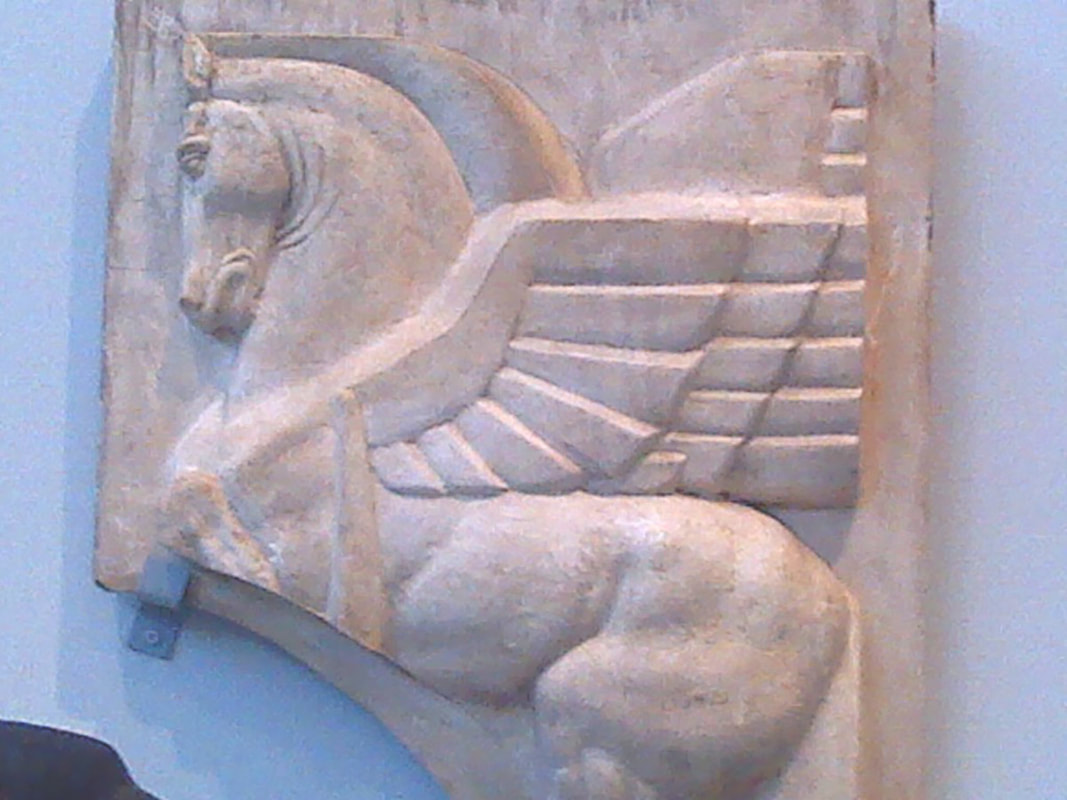
5. Now that you have the basic form ready it’s time to have fun adding textures and patterns to your sculpture! See below for examples of Marshall Fredericks’s textures for inspiration!
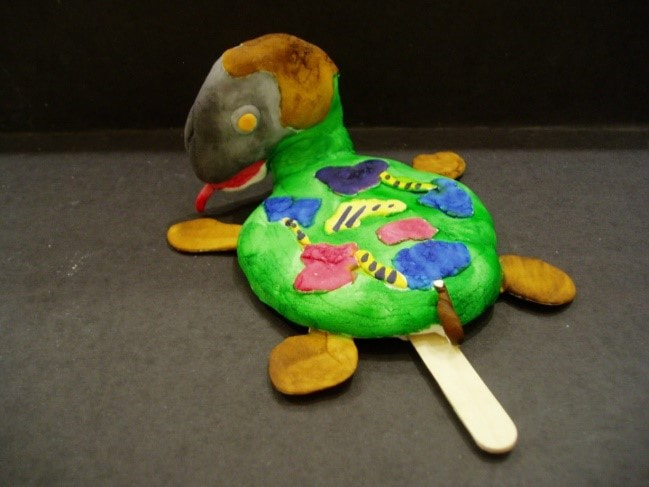
6. When your all done, let your sculpture dry. Once dry you can even paint them with fun colors! We suggest water-based paints like watercolor, acrylic, or tempera.
7. Please share your creations on Facebook and Instagram hashtag #marshallfredericksmuseum.
Marshall Fredericks made many textures on his sculptures. Textures are the rough or smooth surface of a sculpture. You can see a few examples of textures on Marshall Fredericks’ sculptures below. You can even repeat textures to make patterns.
|
|
|

