Botanical Ornament
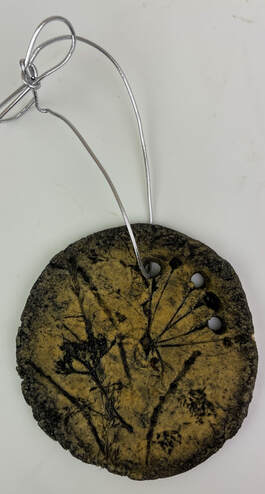
Create your own botanical ornament for the holiday season! Collect small samples of plants outside like flowers, leaves and twigs with interesting shapes and impress the plants into dough, bake, paint, string it with a ribbon, and hang on a holiday tree or as a home decoration!
You will learn about the characteristics of different plants and how to identify them, that changes in matter occur when you mix the flour dough and then bake it, and that acrylic paint made of pigments mixed with water and acrylic emulsion (glue or Modge Podge), can color a surface!
Age Level
5 to 10 years and adults
What you’ll need
- Collection of plants
- Flour dough
- 2 cups of flour
- 1 cup of salt
- 1 cup of water
- Bowl
- Rolling pin, hard cover book or cardboard piece or something to roll and flatten dough
- Wax or parchment paper
- A cup or mug to make cut circles, butter knife or cookie cutters
- Drinking straw
- String or ribbon
- Acrylic Paint
- Optional: Modge Podge or glue
Instruction Steps:
1. Adventure outside and find some small plant pieces. They can be twigs, flowers, leaves, and interesting shaped plants! Plants have interesting textures and shapes and make great impressions. Find pieces about the size that you’ll be making your ornaments. Use a reference book or internet and try to identify the plants you found!
2. Mix 2 cups of white flour and 1 cup of table salt in a bowl. Then slowly add 1 cup of water a tablespoon at a time until dough is smooth and pliable to handle. Knead it well for about 5-10 minutes and then let it sit for about 30 minutes. You can store it wrapped in wax paper in the refrigerator until you’re ready to begin.
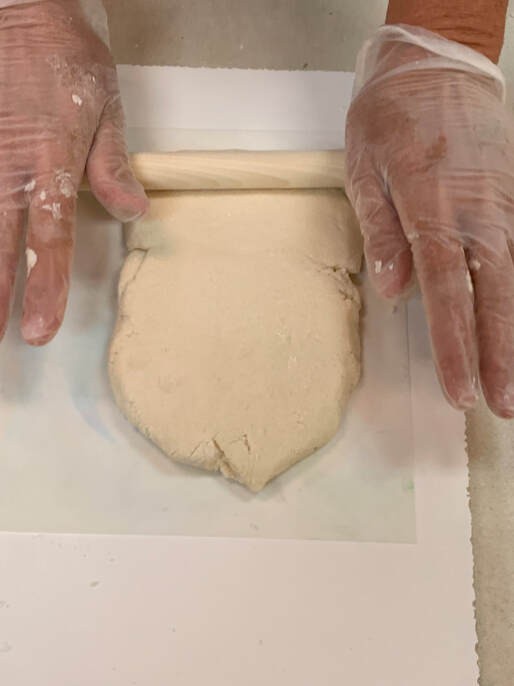
3. Take some dough and flatten it with your hands on some parchment paper. Then use a rolling pin to get a nice even flat surface. Make it about ¼ inch thick or thicker if you prefer.
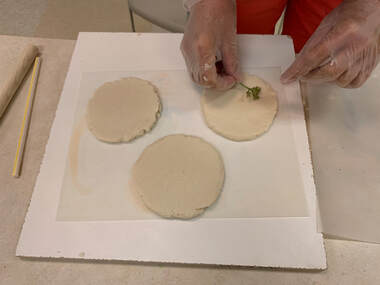
4. Cut out shapes. For circles use a mug or cup and place the open side down on the dough and apply pressure. You can also use cookie cutters for some interesting different shapes and cut freestyle shapes with a butter knife. Pull out your shapes and place them on a piece of parchment paper.
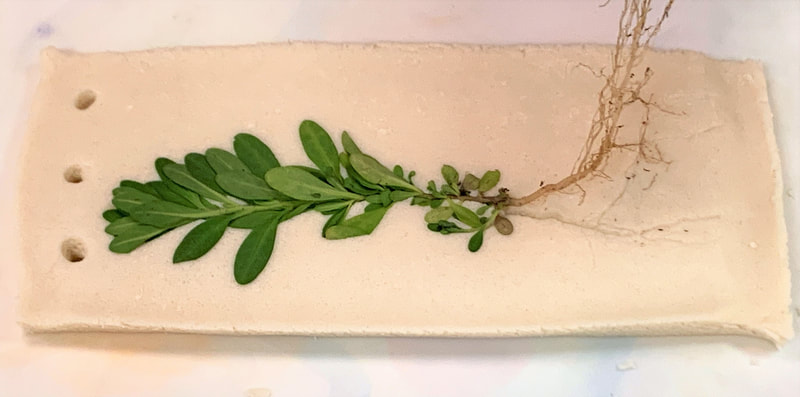
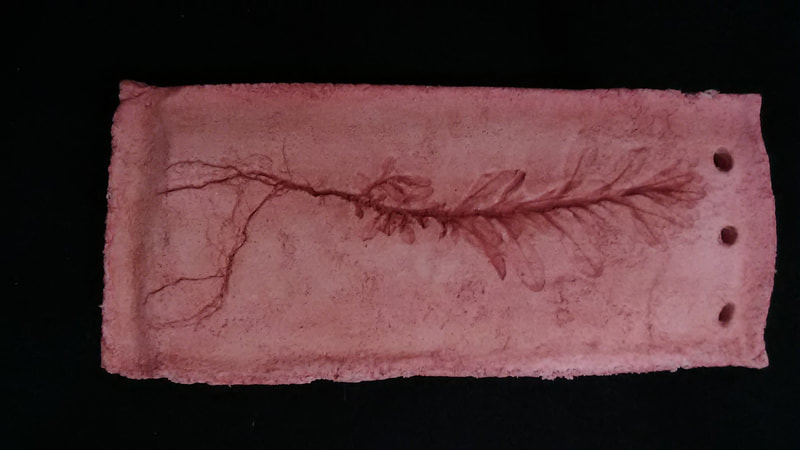
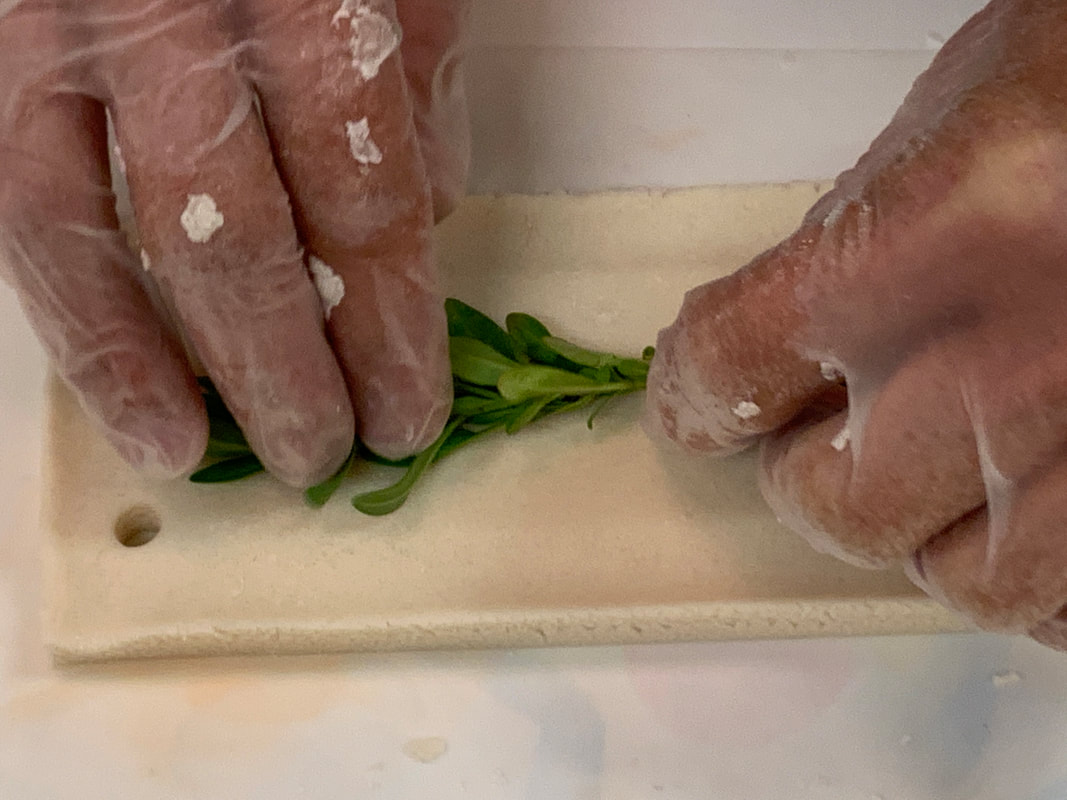
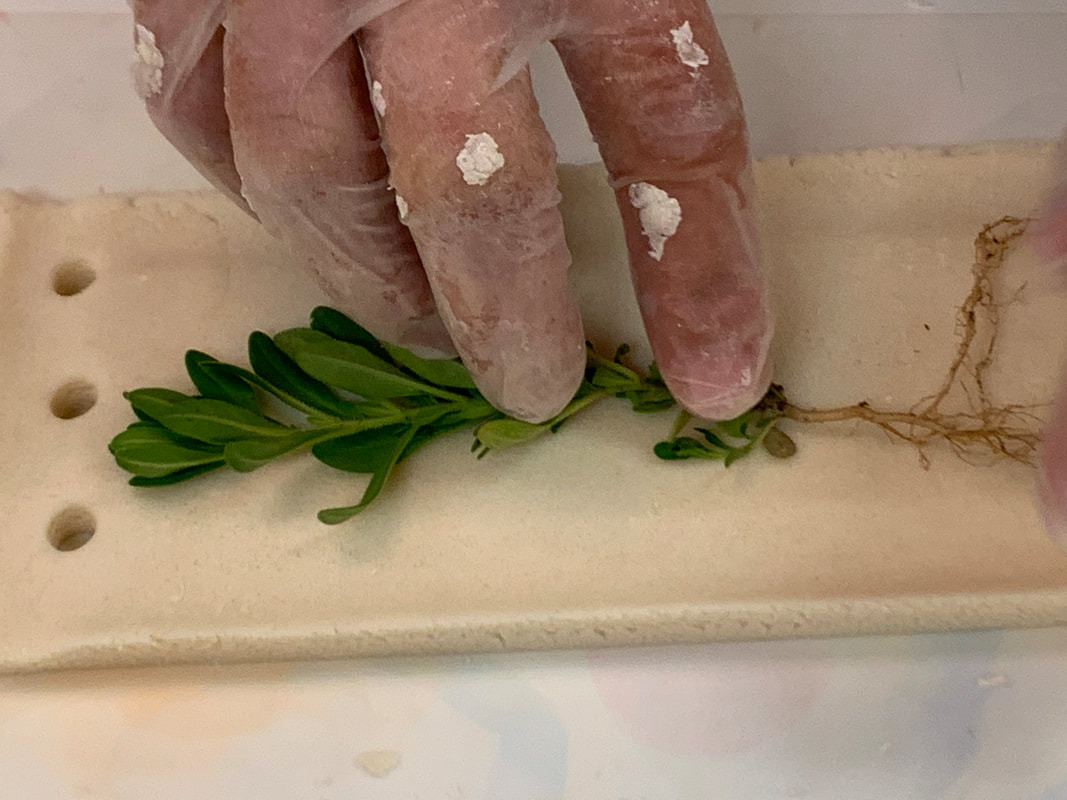
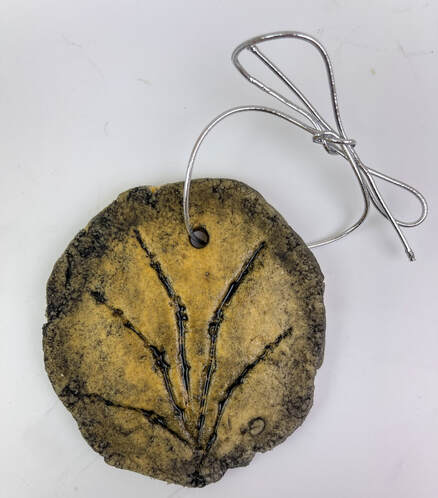
5. Take one of your plant samples and place it on your dough shape. Place a piece of wax paper over it and using a rolling pin or something flat (hard cover book or heavy cardboard) apply some pressure to the wax paper over the plant piece so it makes an impression in the clay. Be careful not to press too hard so it doesn’t go through the dough. Your intent is to capture the textures of your plant piece on your dough surface. Afterwards you can gently remove the plant piece to reveal your texture.
6. Make a small hole with a straw at the top so you can put a string through it to hang after you bake and paint it.
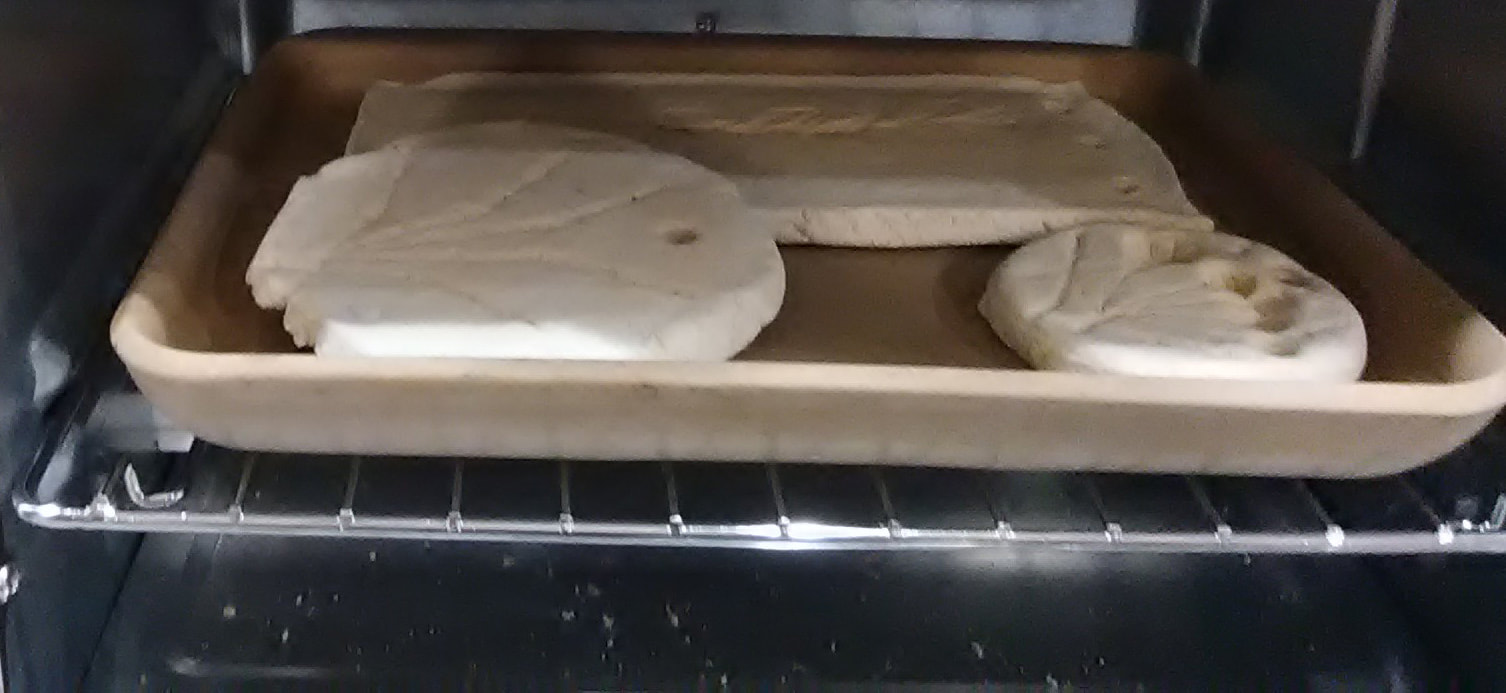
7. After making your impressions, place all your creations on a flat baking sheet and bake at 250 degrees for 2-3 hours or when they harden. You’ll notice the color slightly changes. Let them cool completely. *Adult artists, please help and supervise your younger artists with the oven! :)
7. After making your impressions, place all your creations on a flat baking sheet and bake at 250 degrees for 2-3 hours or when they harden. You’ll notice the color slightly changes. Let them cool completely. *Adult artists, please help and supervise your younger artists with the oven! :)
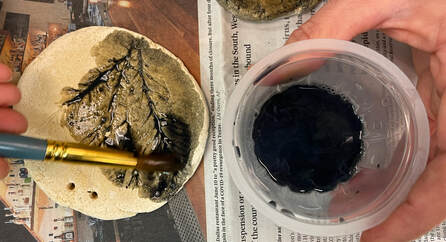
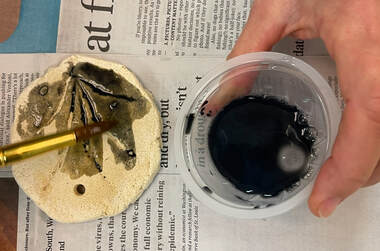
8. Now you’re ready to paint them! You can paint them a solid color, using acrylic. Test it first to see how opaque it is. If you want a thin paint application and to see through it, you can make your acrylic paint transparent by adding glue, Modge Podge and/or water to the paint.
9. After your paint is dry, take some colored string or ribbon and string it through the hole and tie it so you can hang them! You can even make a necklace!


